Dining Room Painting Ideas
Dining Room Painting Ideas offer an exciting and transformative home improvement project that can revitalize one of the most social and frequently used spaces in your home.
Painting your dining room walls is a popular choice among homeowners looking to refresh their interior without undertaking a major renovation. It allows for personal style expression while improving the room’s ambiance, mood, and overall appeal. The project is generally beginner- to intermediate-level, making it accessible to many DIY enthusiasts as well as a good candidate for professional installation if you prefer a flawless finish.
In this comprehensive guide, we’ll explore everything you need to know—from materials and tools, through step-by-step instructions, to design inspiration and maintenance tips—to help you successfully complete your dining room painting project and enjoy a stylish, inviting space.
Project Overview
| Aspect | Details |
|---|---|
| Project Type | Interior Painting, Home Improvement |
| Home Area | Dining Room |
| Difficulty Level | Beginner to Intermediate |
| Estimated Cost | $50 – $400 (varies by paint quality and room size) |
| Estimated Completion Time | 1 to 3 days |
| Required Skills | Basic painting skills, surface preparation |
| Essential Tools | Paintbrushes, rollers, painter’s tape, drop cloth, paint tray |
| Common Materials | Interior wall paint (latex or acrylic), primer, sandpaper |
| DIY Friendly | Yes, suitable for DIY |
| Professional Installation Recommended | Optional, for high-end finishes or complex surfaces |
| Maintenance Requirements | Periodic cleaning of walls and touch-up painting |
Benefits
Painting your dining room offers a multitude of benefits:
- Improved Appearance: Fresh paint instantly updates your dining space, making it feel more inviting and stylish.
- Increased Home Value: Well-maintained and aesthetically pleasing interiors attract buyers and can boost resale value.
- Customization: You can select from an endless palette of colors and finishes to reflect your personal taste or complement your décor.
- Easy Refresh: Compared to major remodeling projects, painting is affordable and faster to complete.
- Enhanced Mood and Comfort: Colors influence atmosphere—warm tones create cozy environments while cool tones encourage calm and relaxation.
- Protection and Cleanability: Quality paint protects walls from stains, moisture, and wear, while washable finishes simplify maintenance.
Materials & Tools Needed
For best results, gather the following materials and tools before beginning your project:
- Paint: Choose a high-quality interior wall paint with appropriate sheen (e.g., eggshell or satin for dining rooms). Latex paint is popular for easy cleanup and durability.
- Primer: Essential if painting over dark colors, stains, or bare drywall to ensure proper adhesion and true color finish.
- Painter’s Tape: To protect trim, ceilings, and fixtures.
- Drop Cloths or Plastic Sheeting: To safeguard floors and furniture from drips and splatters.
- Brushes and Rollers: Brushes for cutting in around edges and rollers for large flat surfaces.
- Paint Tray and Liners: For easy loading of rollers.
- Sandpaper or Sanding Block: To smooth walls and rough spots before painting.
- Putty or Spackle: To fill holes and imperfections on walls.
- Cleaning Supplies: Mild detergent and water to clean walls before painting.
Budget-friendly options are available, such as buying smaller quantities of paint or using mid-tier brands that balance cost and quality. However, quality paint often results in better coverage and longevity, saving money over time.
Step-by-Step Process
Step 1: Prepare the Room
Remove furniture or move it to the center and cover with drop cloths. Remove switch plates, outlet covers, and any wall hangings. Clean walls thoroughly to remove dust, grease, or grime—this ensures paint adhesion.
Step 2: Repair and Sand Walls
Fill holes and cracks with spackle or putty. Once dry, sand smooth, especially around repairs and glossy spots. Wipe away dust with a damp cloth.
Step 3: Tape and Protect
Apply painter’s tape carefully along edges of trim, windows, and ceiling lines. Lay down drop cloths to protect flooring.
Step 4: Prime Walls
Apply primer if necessary—especially when painting lighter colors over darker walls or when walls have stains. Let it dry completely.
Step 5: Paint the Ceiling and Edges
Start by cutting in around the ceiling, corners, and trim with a brush. This creates a clean edge before rolling large surfaces.
Step 6: Roll Paint on Walls
Using a roller, apply paint in “W” or “M” patterns for even coverage. Work in sections and maintain a wet edge to avoid marks. Two coats are generally recommended for best color depth and coverage.
Step 7: Dry and Inspect
Allow paint to dry fully between coats (usually 4–6 hours). Inspect for missed spots or uneven areas and touch up as needed.
Step 8: Clean Up
Remove painter’s tape carefully, replace outlet covers, and return furniture. Clean brushes and rollers if you plan to reuse them.
Pro Tips:
- Always work in well-ventilated areas and consider masks if sensitive to fumes.
- Use good-quality brushes and rollers to reduce streaks and improve finish.
- Don’t rush drying times to avoid smudging or peeling paint.
Design Ideas & Inspiration
When choosing paint colors and finishes for your dining room, consider your overall home style and lighting:
- Modern Styles: Cool grays, blues, or bold accent walls paired with minimalist furniture create sleek contemporary looks.
- Traditional Designs: Warm neutrals, classic creams, and muted greens or reds complement antique or rich wood furniture.
- Minimalist Ideas: Crisp whites or soft pastels enhance simplicity and brightness in smaller dining spaces.
- Rustic Themes: Earthy tones like terracotta, deep browns, and olive greens evoke cozy farmhouse vibes.
- Color Combinations: Consider two-tone walls with chair rails or wainscoting for visual interest.
- Space-Saving Solutions: Use lighter colors to open up compact dining rooms visually.
- Budget-Friendly Upgrades: Accent walls or stencil patterns can add character without painting entire rooms.
Maintenance Tips
To preserve your freshly painted dining room walls:
- Regular Cleaning: Dust and wipe walls with a damp cloth or mild cleaner to prevent buildup.
- Inspection: Check periodically for chips, cracks, or stains.
- Touch-Ups: Keep leftover paint to handle minor repairs and maintain uniform appearance.
- Avoid Harsh Abrasives: Use gentle cleaning methods to prevent damaging paint finishes.
- Control Humidity: Proper ventilation reduces moisture-related paint problems.
Cost & Budget
The cost of dining room painting primarily depends on:
- Paint Quality and Quantity: Higher-quality paints cost more but offer better coverage and durability, reducing long-term expenses.
- Room Size: Larger rooms require more materials and time.
- Preparation Work: Extensive repairs or priming increase material use and labor time.
- Labor Costs: Hiring professionals typically costs $200 to $500 or more depending on room size and complexity.
For most DIY projects, expect to spend between $50 and $400 on materials. Professional installation increases costs but guarantees a polished finish. Planning your budget accurately helps in choosing between DIY and hiring experts.
Common Mistakes to Avoid
- Skipping Preparation: Not cleaning or repairing walls can cause poor paint adhesion and uneven finishes.
- Using Low-Quality Paint or Tools: May result in streaks, fading, or excessive coats.
- Ignoring Drying Times: Painting over wet coats causes smudging or peeling.
- Inadequate Taping: Leads to messy edges and extra cleanup.
- Choosing Inappropriate Colors: Failing to test paint in lighting conditions can lead to disappointment.
Pros & Cons
| Pros | Cons |
|---|---|
| Affordable way to refresh appearance | Requires time and effort for prep and execution |
| Customizable with wide range of colors and finishes | Improper application can lead to uneven coverage or drips |
| Increases home value and appeal | Some surfaces may need professional expertise |
| DIY-friendly, suitable for many skill levels | Potential for mess and strong paint fumes |
Final Thoughts
Painting your dining room is one of the most effective and budget-friendly home remodeling ideas to instantly enhance interior comfort and style. It’s well-suited for both beginners and experienced DIYers willing to invest some time in preparation and detail work.
Whether you choose to tackle the project yourself or hire professionals, selecting the right colors, materials, and techniques ensures a lasting and attractive finish. Keep your budget in mind, but don’t skimp on quality where it counts to achieve a dining space you’ll enjoy for years. With proper maintenance, your newly painted walls will maintain their beauty and protect your home’s interior investment.
Consider starting your next interior improvement project today with these dining room painting ideas for a fresh, inviting upgrade to one of your home’s central spaces.
Stylish Dining Room Paint Ideas With Chair Rail Accents
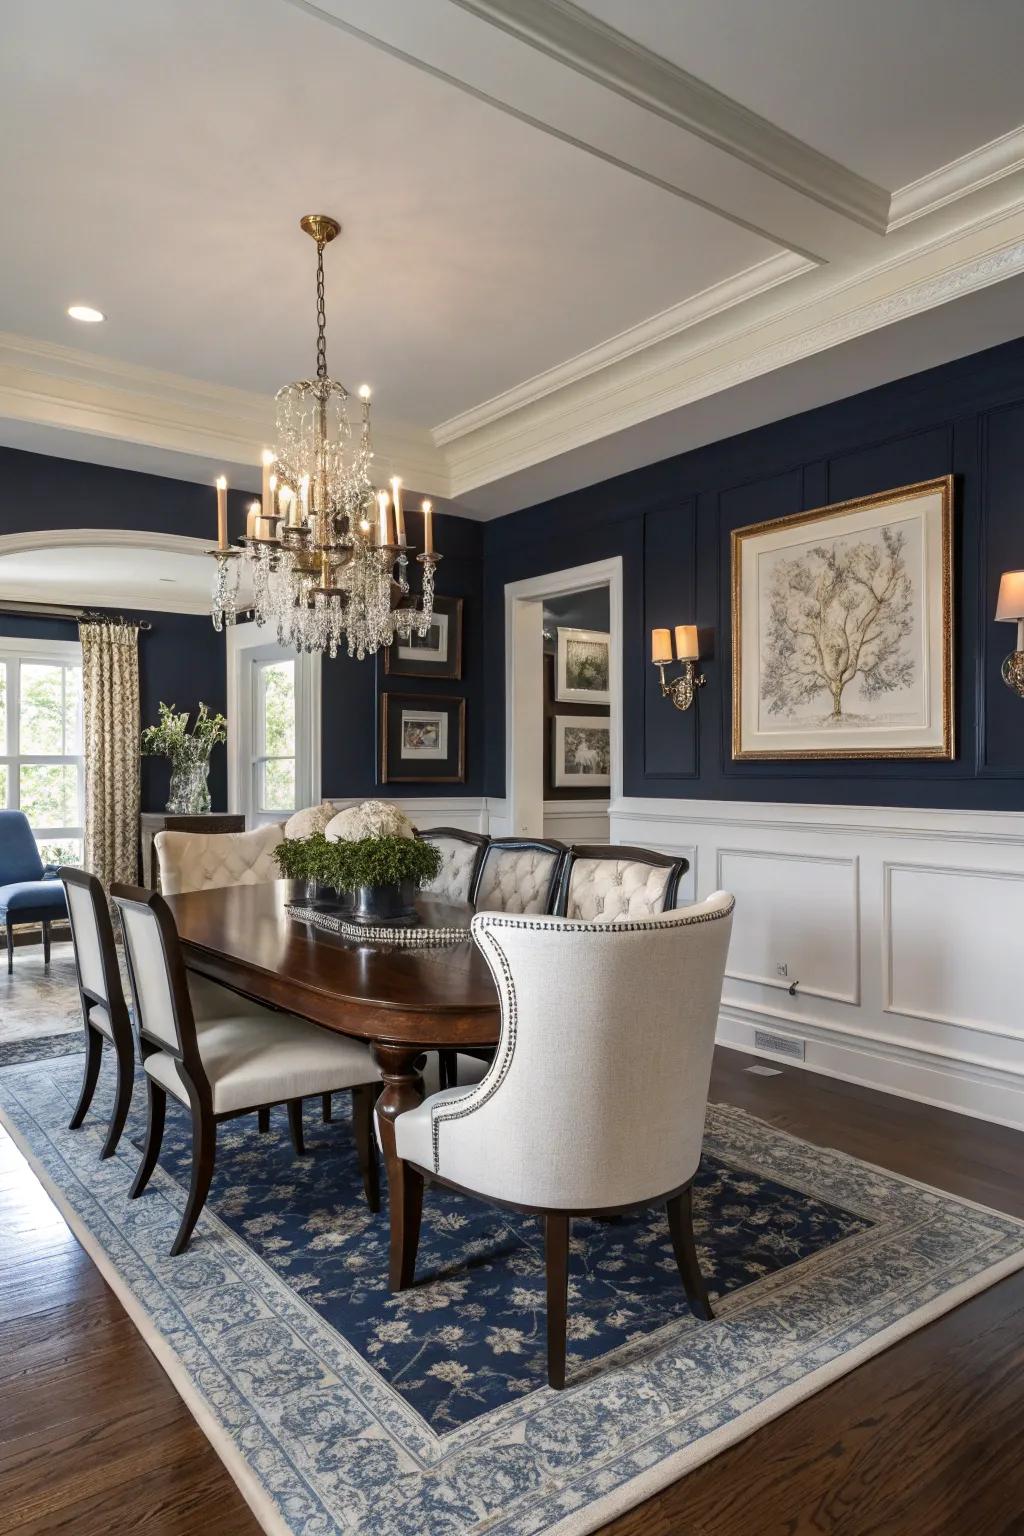
Stylish Dining Room Paint Ideas with Chair Rail Accents
40 Dining Room Paint Colors For Every Style
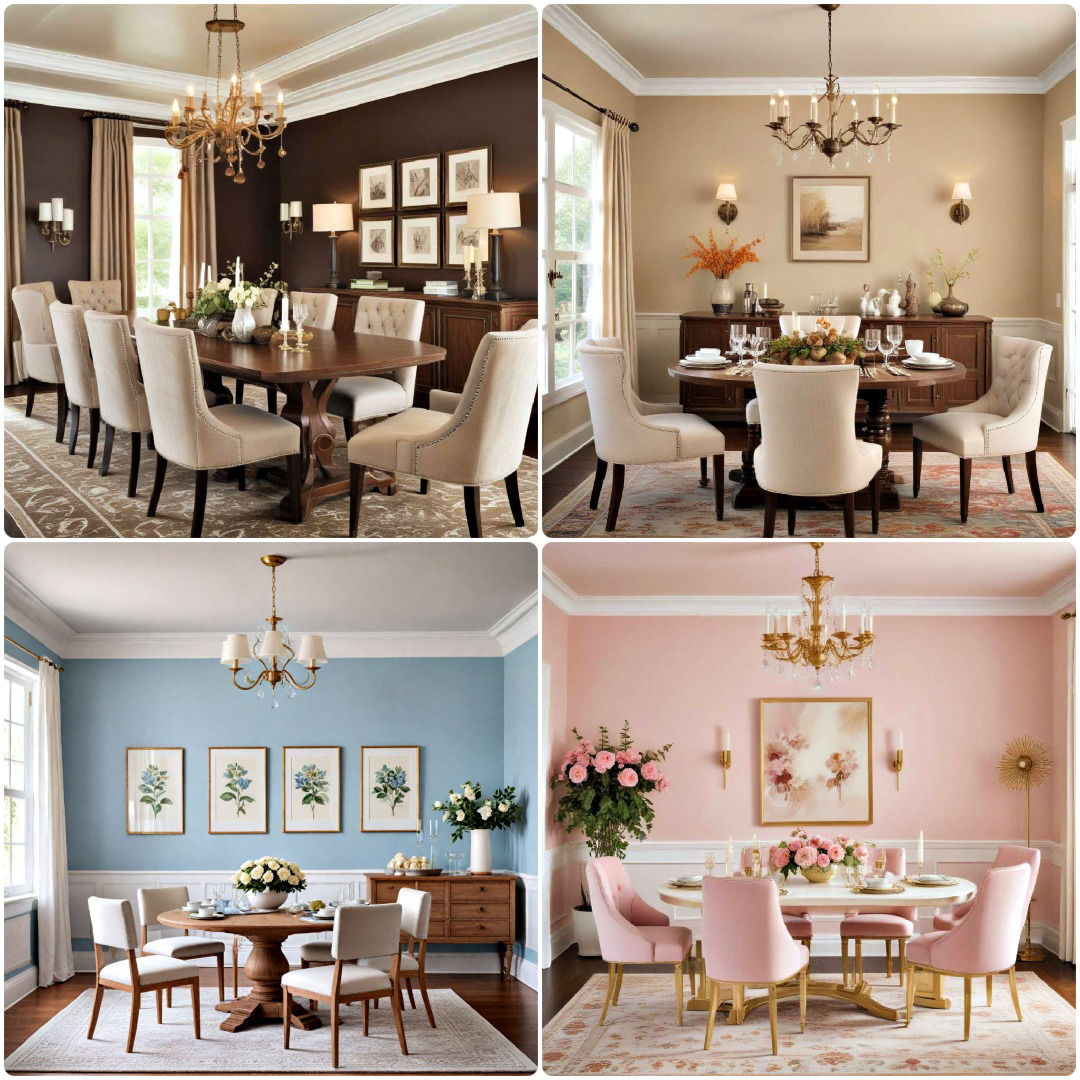
40 Dining Room Paint Colors for Every Style
7 Elegant Dining Room Paint Ideas

7 Elegant Dining Room Paint Ideas
Dining Room Paint Ideas Paint And Decorating, 22 Bright Wall Painting

Dining Room Paint Ideas Paint And Decorating, 22 Bright Wall Painting
40 Dining Room Paint Colors For Every Style And Mood
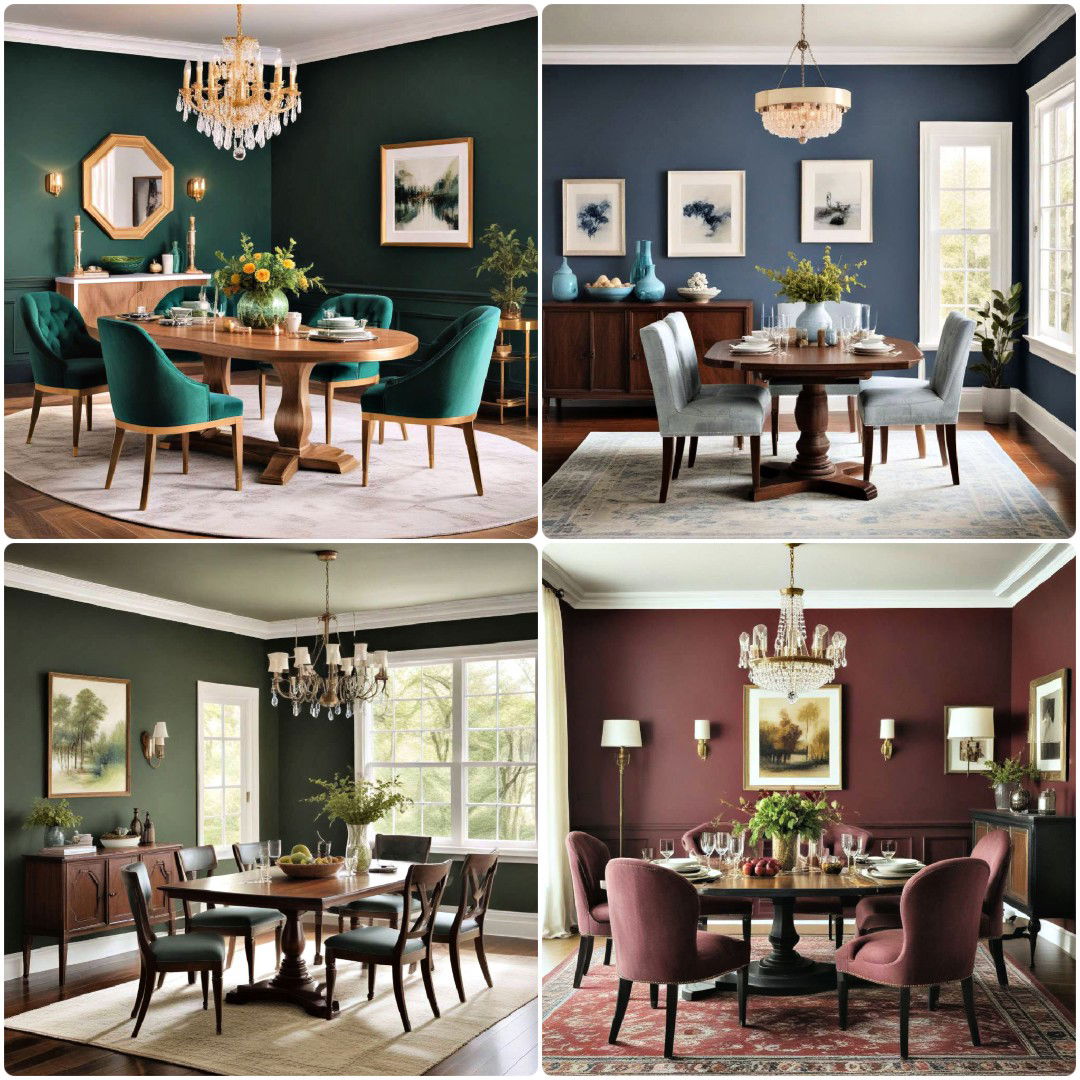
40 Dining Room Paint Colors for Every Style and Mood