
How to Make a Scrapbook Step by Step – Learning how to make a scrapbook step by step is a fun and creative way to preserve memories, express emotions, and showcase your personality. Whether you’re creating a scrapbook for a school project, a birthday gift, or personal keepsakes, this simple guide will help you get started with confidence—even if you’ve never scrapbooked before.
Step 1: Choose Your Scrapbook Style and Theme
The first step in making a scrapbook is deciding on a theme. Your theme gives direction to your design, colors, and content. Popular scrapbook themes include travel memories, family moments, friendship, school projects, hobbies, or special occasions like birthdays and anniversaries. You can also choose a minimalist style or a colorful, decorative approach.
Step 2: Gather the Materials You Need
You don’t need expensive tools to create a beautiful scrapbook. Basic scrapbook materials are easy to find and often already available at home.
- Scrapbook album, notebook, or binder
- Scrapbook paper or colored paper
- Photos, drawings, or printed images
- Glue, tape, or double-sided tape
- Scissors
- Pens, markers, or highlighters
- Stickers, washi tape, or recycled decorations
Step 3: Plan Each Scrapbook Page
Before attaching anything, plan your scrapbook layout. Place photos, text, and decorations on the page without glue to see how everything fits. This step helps you avoid clutter and ensures your scrapbook looks neat and balanced. Simple layouts work best, especially for beginners.
Step 4: Design the Background
Create a background using scrapbook paper, chart paper, or recycled materials like magazines and wrapping paper. You can keep it clean or add borders, frames, or light patterns. Make sure the background doesn’t overpower your photos and text.
Step 5: Add Photos or Visual Elements
Attach your photos or images to the page using glue or tape. If you don’t have photos, you can use drawings, printed quotes, or handwritten notes. Scrapbooking is flexible, and creativity matters more than having perfect pictures.
Step 6: Write Captions and Journaling
Captions bring your scrapbook to life. Write short descriptions, dates, thoughts, or feelings related to each photo or memory. Journaling adds emotional value and helps preserve the story behind each moment.
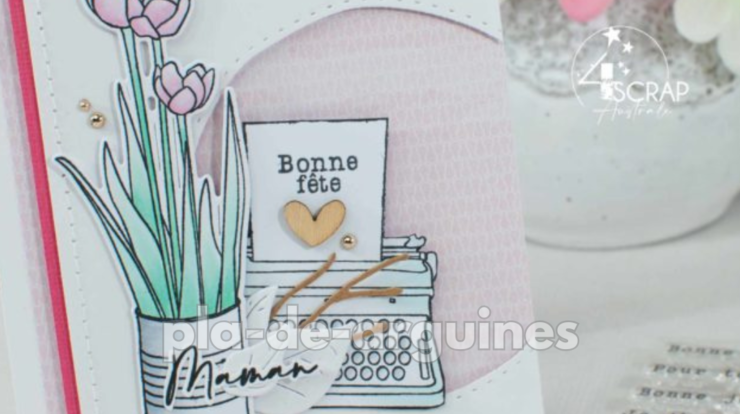
Step 7: Decorate and Personalize
Decorate your scrapbook with stickers, doodles, shapes, or embellishments. Keep decorations balanced and avoid overcrowding the page. Using a consistent color scheme can make your scrapbook look more polished and organized.
Step 8: Review and Final Touches
Once your pages are complete, review the scrapbook and add final details. Check for loose edges, fix alignment, and ensure everything is securely attached. You can also add page numbers or a title page for a professional touch.
Conclusion
Now that you know how to make a scrapbook step by step, you can confidently start your own project. Scrapbooking is not about perfection but about creativity and storytelling. Take your time, enjoy the process, and create a scrapbook that truly reflects your memories and emotions.