

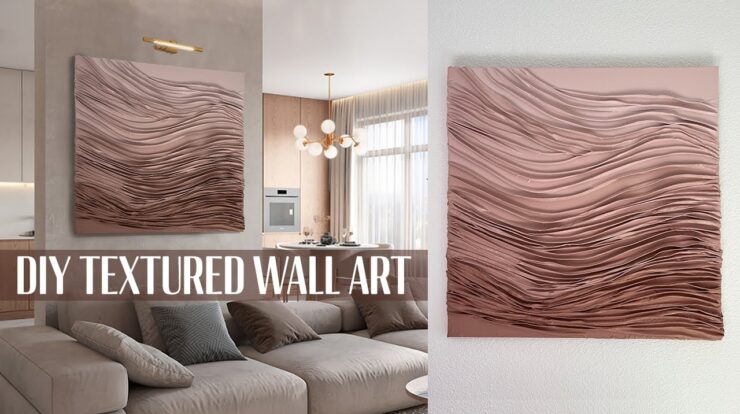
Textured Wall Art Ideas
Textured Wall Art Ideas offer a creative and impactful way to transform ordinary walls into stunning focal points, enhancing both modern and traditional home interiors. This home improvement project involves applying three-dimensional textures and artistic finishes to walls, elevating the visual appeal and ambiance of any living space. Homeowners often choose textured wall art to add depth, character, and a tactile dimension that standard paint or wallpaper can’t provide.
The primary benefits are enhanced aesthetics, customization possibilities, and a unique artistic statement that complements personal style. This project suits those interested in a moderate DIY challenge, blending creativity with practical skills. Whether you want to refresh a living room, bedroom, or hallway, textured wall art allows you to showcase your design taste while adding value to your home. This comprehensive guide is ideal for beginner to intermediate DIY enthusiasts, interior design aficionados, and anyone keen on budget-friendly remodeling ideas.
Project Overview
| Aspect | Details |
|---|---|
| Textured Wall Art Application | |
| Living Room, Bedroom, Hallway, Accent Walls | |
| Beginner to Intermediate | |
| $50 – $300 (varies by materials and tools) | |
| 1 to 3 days | |
| Basic painting, plastering, creative design | |
| Trowels, brushes, rollers, palette knives, painter’s tape | |
| Plaster, joint compound, textured paint, primers, sealers | |
| Yes, with proper preparation and guidance | |
| Optional for complex designs or large areas | |
| Low; periodic dusting and gentle cleaning |
Benefits
Textured wall art offers many advantages beyond just decoration:
- Enhanced Appearance: Adds dimension and richness to interiors, making spaces feel dynamic and interesting.
- Customization: Allows for unique patterns and finishes tailored to personal style and room ambiance.
- Improved Wall Durability: Textured finishes can help mask minor imperfections, cracks, or patches on walls.
- Increased Home Value: Offers a premium upgrade that can impress potential buyers or guests.
- Versatility: Suitable for various styles — from rustic to contemporary.
- Low Maintenance: Once sealed, textured walls are easy to clean and maintain.
Materials & Tools Needed
Choosing the right materials is key to a successful textured wall art project.
- Plaster or Joint Compound: The foundation for most textured finishes; choose quality brands suitable for interior walls.
- Textured Paints and Primers: Specialized paints contain sand or additives for texture or can be used over plaster.
- Sealants: To protect the finished surface, especially in high-traffic areas.
- Tools: Trowels, palette knives, brushes, rollers, sponges, putty knives, stencil brushes, painter’s tape.
- Optional: Stencils or stamps for pattern creation, spray textures, or joint compound additives (e.g., mica flakes for shimmer).
Budget-conscious DIYers can opt for premixed joint compounds and textured paints widely available at major home centers, while higher-end projects may call for specialty Venetian plaster or professional-grade troweling tools.
Step-by-Step Process
Step 1: Preparation
Start by cleaning and repairing the wall surface. Remove any loose paint, patch holes, and sand smooth. Apply a primer suited for textured finishes to ensure proper adhesion.
Step 2: Choose Texture Technique
Select your desired texture style — options include stippling, swirls, combing, or using stencils. Gather all necessary tools to execute the chosen method effectively.
Step 3: Application
Using a trowel or putty knife, apply the plaster or joint compound evenly. Work in small sections to maintain control. Experiment with patterns while the compound is wet — for example, swirl motions with a brush or combing lines.
Tip: Practice on a board before working on the wall to perfect your technique.
Step 4: Drying
Allow the textured layer to dry completely, following the manufacturer’s recommended times. Proper ventilation speeds drying and minimizes dust.
Step 5: Painting and Finishing
Once dry, paint the textured wall with your chosen wall paint or specialty textured paint coats. Use rollers designed for rough surfaces or brushes for detailed areas.
Step 6: Sealing
For durability and ease of maintenance, apply a clear sealer or varnish, especially in moisture-prone spaces.
Safety Note: Use dust masks when sanding and ensure adequate room ventilation when applying paints or sealers.
Design Ideas & Inspiration
The charm of textured wall art lies in its adaptability to numerous design styles.
- Modern Minimalist: Subtle textures in neutral palettes for sleek, understated elegance.
- Rustic and Earthy: Rough plaster finishes evoke natural, tactile warmth fitting farmhouse or boho styles.
- Geometric Patterns: Use stencils or masking tape to create sharp, repeating shapes for a contemporary vibe.
- Metallic Finishes: Incorporate mica flakes or metallic paint washes to add shimmer and luxury.
- Accent Walls: Highlight one wall in a living room or bedroom with textured art for focal impact without overwhelming.
- Color Combinations: Experiment with layered paint washes over texture to create depth and multi-tonal effects.
Maintenance Tips
Maintaining textured walls involves simple yet regular upkeep:
- Dust gently with microfiber cloths or soft brushes to avoid dislodging texture.
- Spot-clean stains using a damp sponge with mild soap; avoid harsh scrubbing.
- Inspect periodically for cracks or chips; minor repairs use touch-up plaster or paint.
- Reapply sealers every few years in high-traffic or humid environments.
- Ensure room ventilation to prevent moisture buildup that might compromise wall textures.
Cost & Budget
The budget for textured wall art widely varies depending on the materials chosen and whether you DIY or hire a professional.
- Materials: Basic plaster and textured paints range from $20-$100 per room; specialty plasters or metallic finishes can add $100-$200.
- Tools: Essential tools may cost $30-$60; many are one-time purchases.
- Labor: Professional installation, when used, typically runs $200-$600 depending on room size and complexity.
- DIY Savings: Taking on the project yourself can reduce overall cost by 50-70%.
- Regional Differences: Material costs may fluctuate based on geographic location; check local suppliers for precise pricing.
Investing in textured wall art yields long-term value by elevating the room’s ambiance and showcasing custom craftsmanship.
Common Mistakes to Avoid
- Insufficient Surface Prep: Skipping cleaning or patching causes poor adhesion and texture failure.
- Applying Too Thickly: Over-applying plaster leads to cracking and prolonged drying times.
- Neglecting Drying Times: Rushing painting over wet textures damages finish quality.
- Poor Tool Choice: Using improper tools can create uneven or unintended texture.
- Lack of Testing: Not sampling patterns or colors in small sections causes regrets after full application.
- Ignoring Sealant: Leaving walls unsealed reduces durability and complicates cleaning.
Pros & Cons
| Pros | Cons |
|---|---|
| Adds unique visual interest and depth | Can be time-consuming for beginners |
| Customizable to fit any interior style | Improper application may lead to cracking or peeling |
| Improves wall surface appearance, hiding imperfections | Potentially harder to repair than flat paint |
| Relatively budget-friendly, especially DIY | Texture can collect dust, requiring regular cleaning |
| Boosts home value and aesthetic appeal | Complex designs may require professional help |
Final Thoughts
Textured wall art ideas represent an exciting opportunity to incorporate creativity and personalized style into your home improvement projects. This technique suits a wide range of skill levels and budgets, making it accessible for both beginner DIYers and experienced remodelers. By carefully selecting materials and following the step-by-step process, you can achieve a stunning and durable feature wall that enhances any room’s ambiance. Consider your timeline, design preferences, and willingness to learn new skills before starting. For large or intricate designs, professional installation might be the best approach.
Ultimately, textured wall art is a compelling home renovation idea that brings tactile warmth, visual interest, and long-term charm — a smart choice for anyone aiming to upgrade their interior with a unique, artistic touch.
Textured Wall Art Decor – Textured Paintings On Canvas – NYSNIB
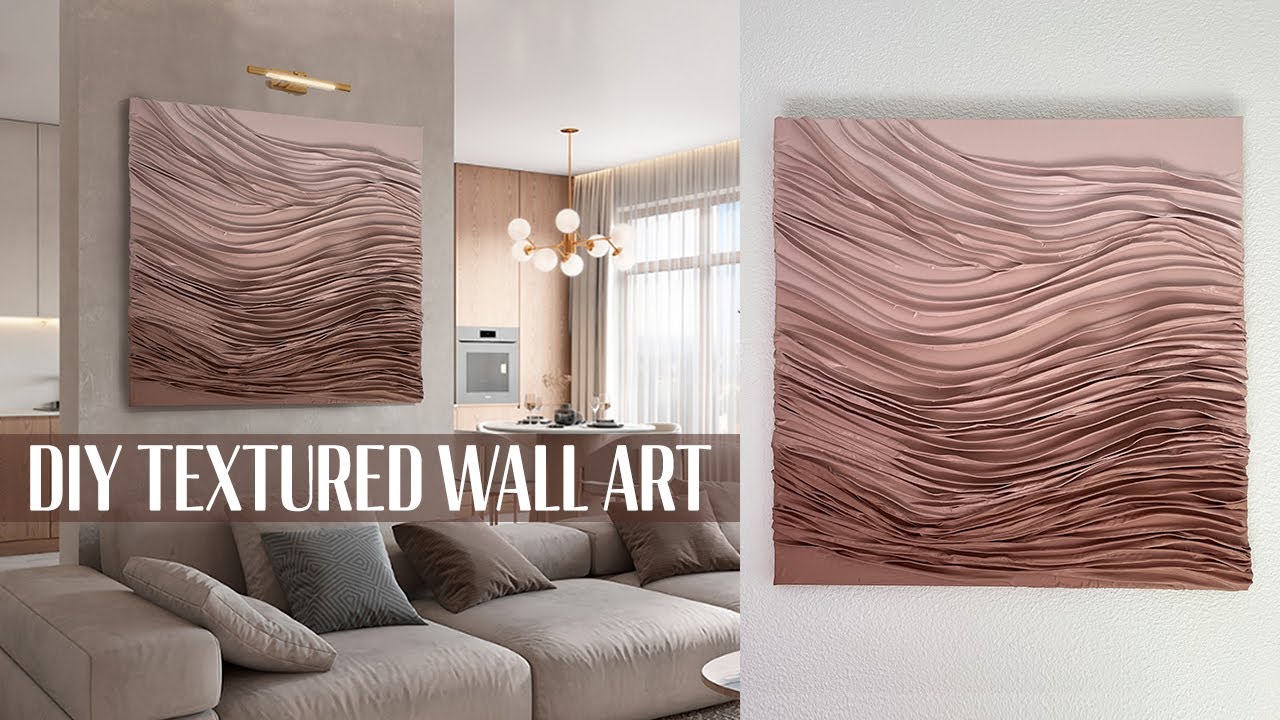
Textured Wall Art Decor – Textured Paintings On Canvas – NYSNIB
3D White Large Flower Texture Oil Painting On Canvas White Floral
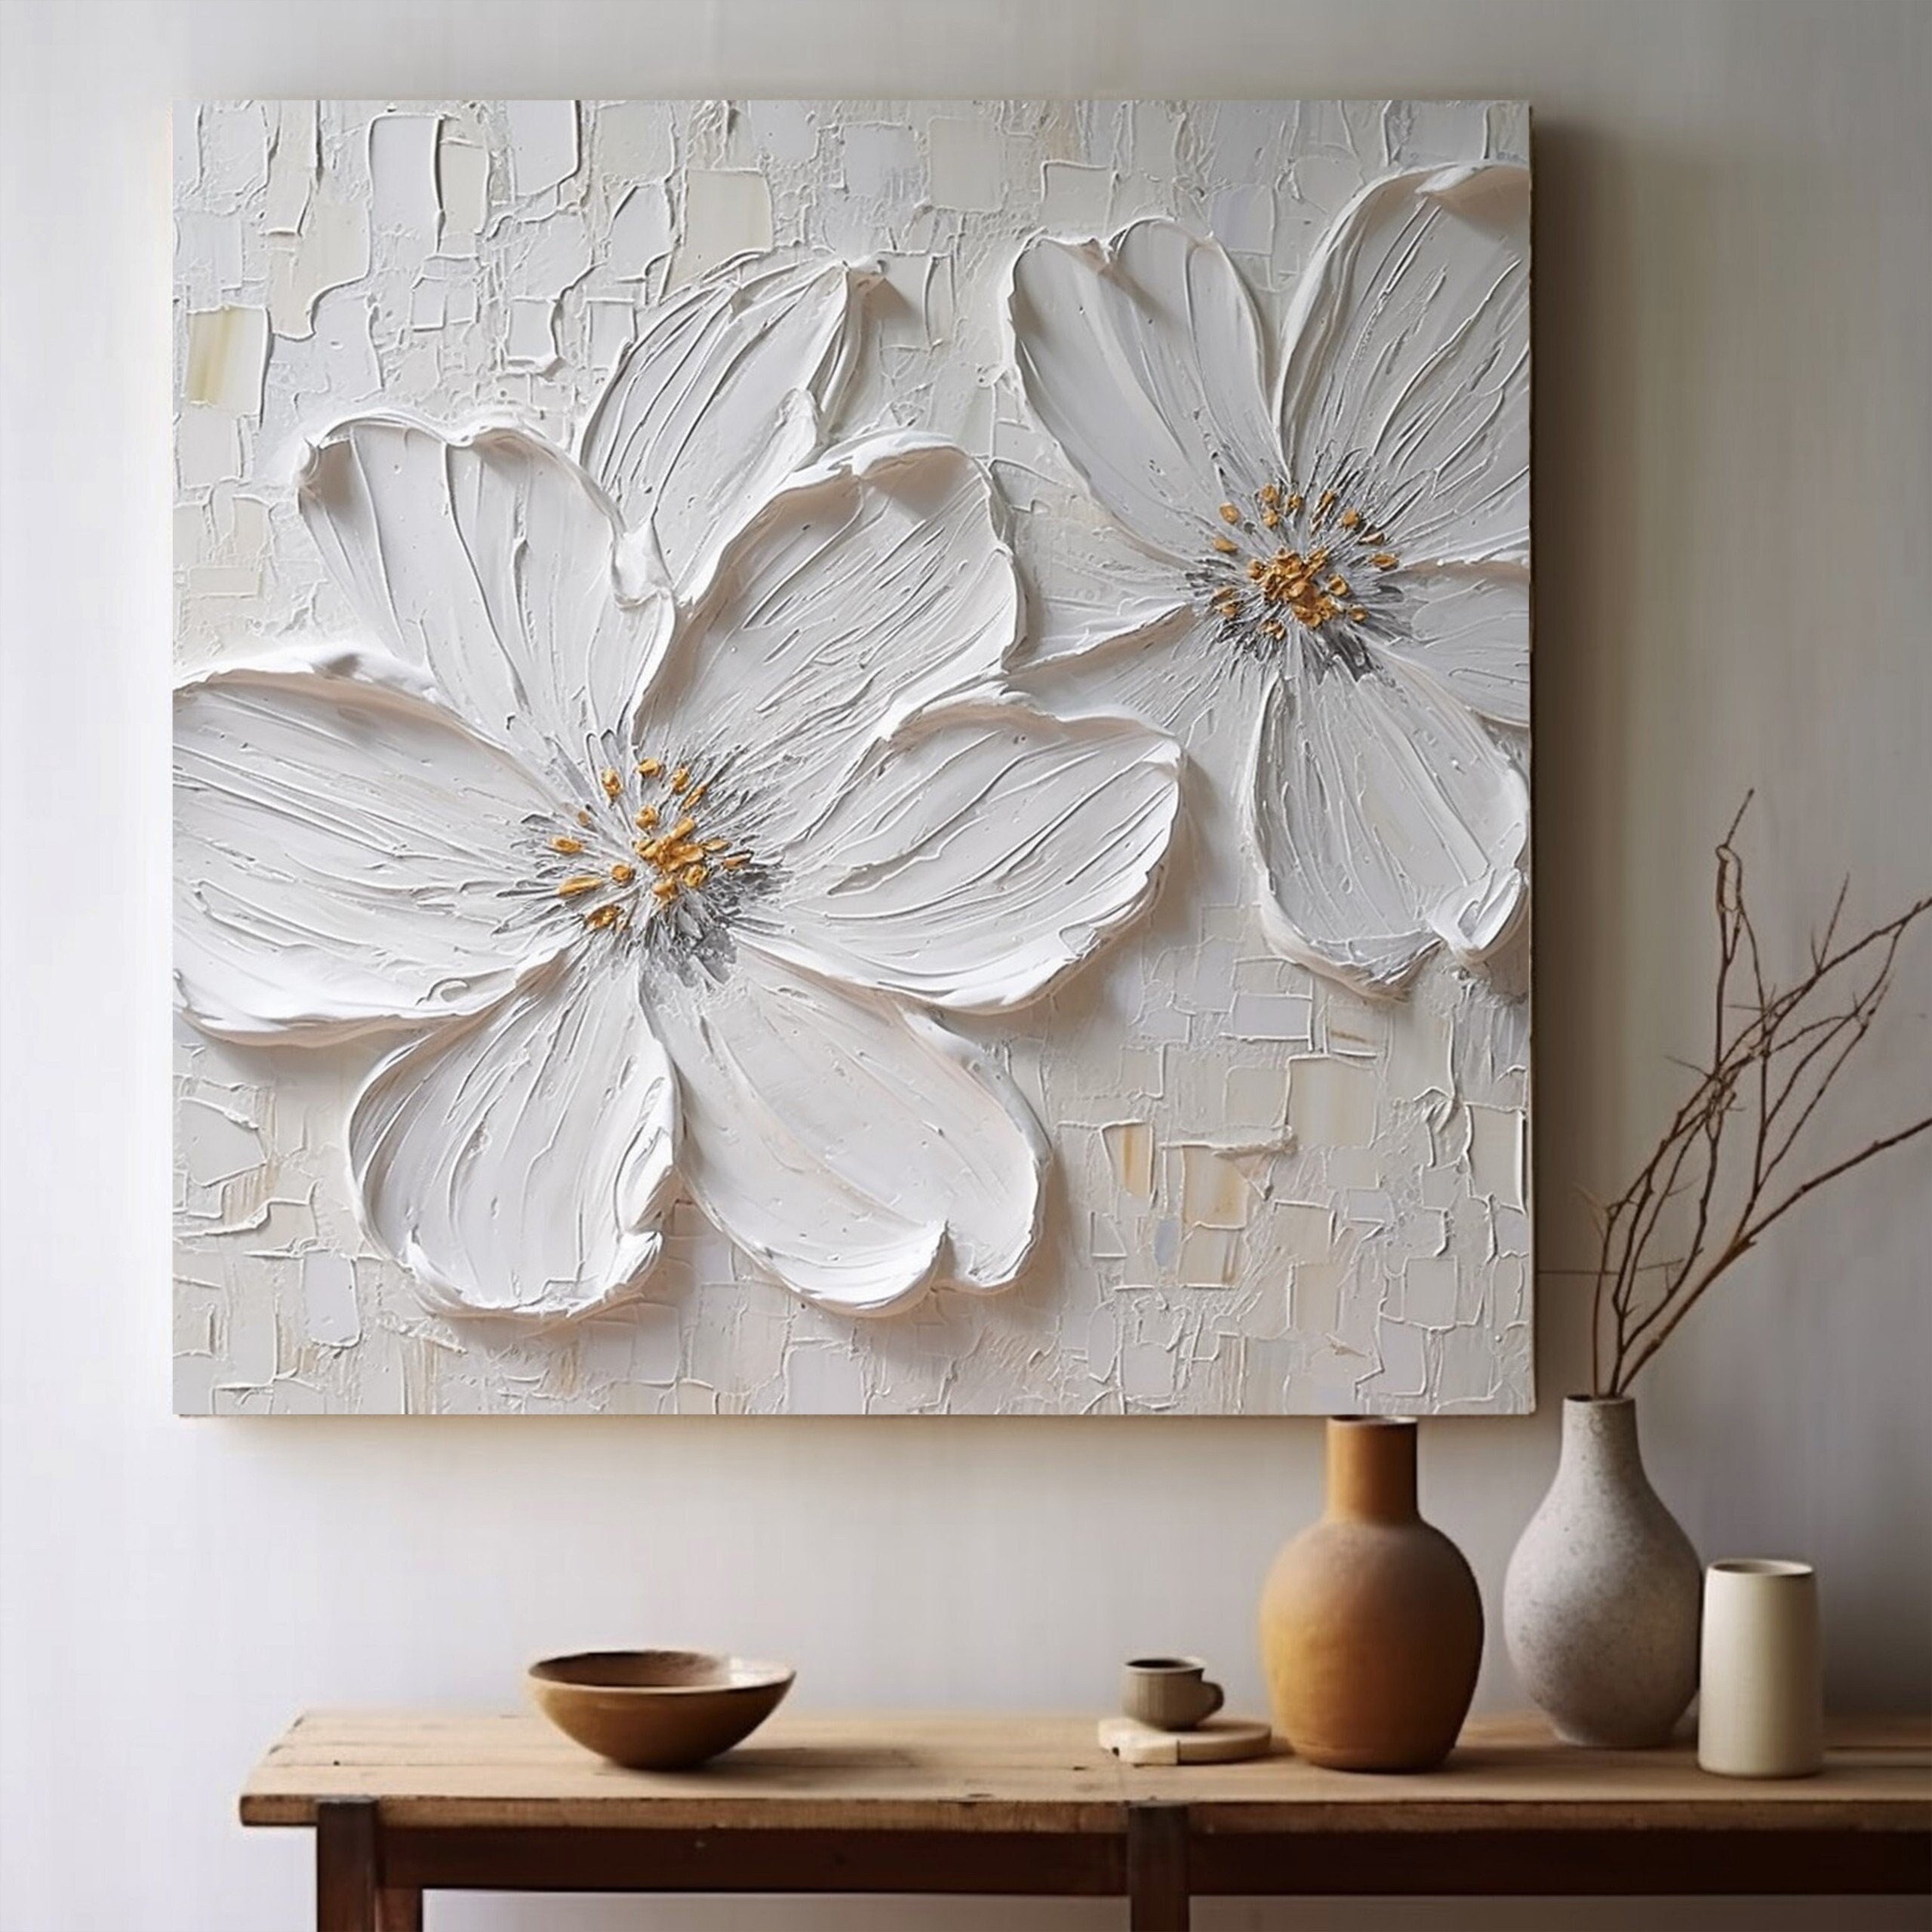
3D White Large Flower Texture Oil Painting on Canvas White Floral …
Textured Wall Ideas Diy
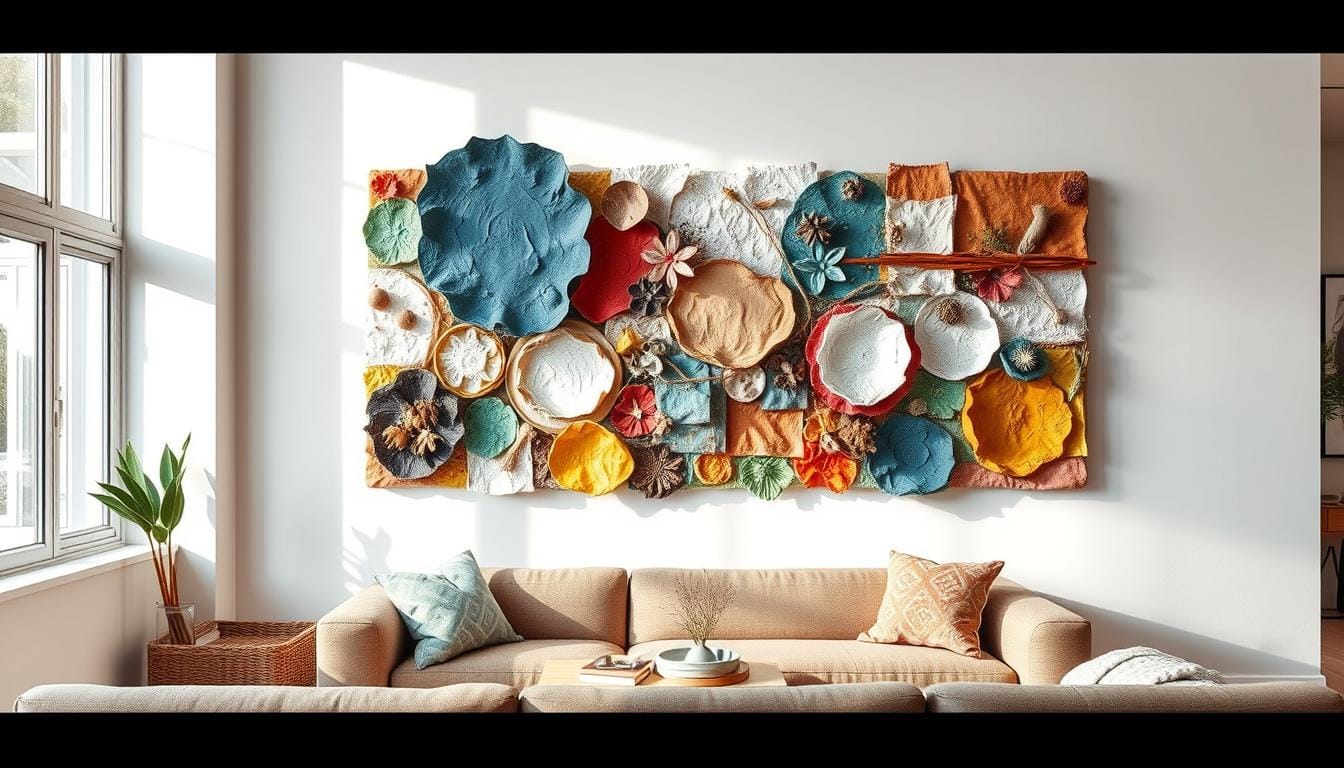
Textured Wall Ideas Diy
14+ Inspiring Textured Painting Ideas For Your Home | Painting Canvas

14+ Inspiring Textured Painting Ideas for Your Home | Painting canvas …
DIY Textured Wall Art With Plaster Techniques – MAFNER | Diy Canvas

DIY Textured Wall Art with Plaster Techniques – MAFNER | Diy canvas …